[TOC]
可点击此处下载完整项目哦:Springboot-Mybatis-Gradle
最近SpringMVC转Spring Boot,搭建全新的项目框架,也学到不少的新东西。鉴于现在的忘形比记性好,还是写下来记录一下,分享进步。(PS:适合跟我一样刚入手的新人哦,大牛们请绕道(๑╹◡╹)ノ”””)
build.gradle
build.gradle中配置依赖的jar包
dependencies {
    compile group: 'io.springfox', name: 'springfox-swagger2', version:'2.2.2'
    compile group: 'io.springfox', name: 'springfox-swagger-ui', version:'2.2.2'

}
Swagger2配置类
在Application.java同级创建Swagger2的配置类Swagger2。
package com.cc.config;

import org.springframework.context.annotation.Bean;
import org.springframework.context.annotation.Configuration;

import springfox.documentation.builders.ApiInfoBuilder;
import springfox.documentation.builders.PathSelectors;
import springfox.documentation.builders.RequestHandlerSelectors;
import springfox.documentation.service.ApiInfo;
import springfox.documentation.spi.DocumentationType;
import springfox.documentation.spring.web.plugins.Docket;
import springfox.documentation.swagger2.annotations.EnableSwagger2;

@Configuration
@EnableSwagger2
public class Swagger2 {

  @Bean
  public Docket createRestApi() {
    return new Docket(DocumentationType.SWAGGER_2)
            .apiInfo(apiInfo())
            .select()
            .apis(RequestHandlerSelectors.basePackage("com.cc.controller"))
            .paths(PathSelectors.any())
            .build();
  }

  private ApiInfo apiInfo() {
    return new ApiInfoBuilder()
            .title("Gradle构建Spring boot项目")
            .description("Gradle构建Spring boot项目 集成mybatis使用pagehelper插件 ,实现热部署 by 陈晨")
            .termsOfServiceUrl("http://blog.csdn.net/chen1218chen")
            .contact("chenchen")
            .version("1.0")
            .build();
  }
}
记得@Configuration注解,通过@Configuration注解,让Spring来加载该类配置。再通过@EnableSwagger2注解来启用Swagger2。
com.cc.controller待扫描的接口包,Swagger会扫描该包下所有Controller定义的API ,并生成API文档(除了被@ApiIgnore指定的请求)。
Swagger2默认将所有的Controller中的RequestMapping方法都会暴露,然而在实际开发中,我们并不一定需要把所有API都提现在文档中查看,这种情况下,使用注解@ApiIgnore来解决,如果应用在Controller范围上,则当前Controller中的所有方法都会被忽略,如果应用在方法上,则对应用的方法忽略暴露API
添加文档内容
通过@ApiOperation注解来给API增加说明、通过@ApiImplicitParams、@ApiImplicitParam注解来给参数增加说明
@RestController
public class UserController {
    @Autowired
    private UserService userService;

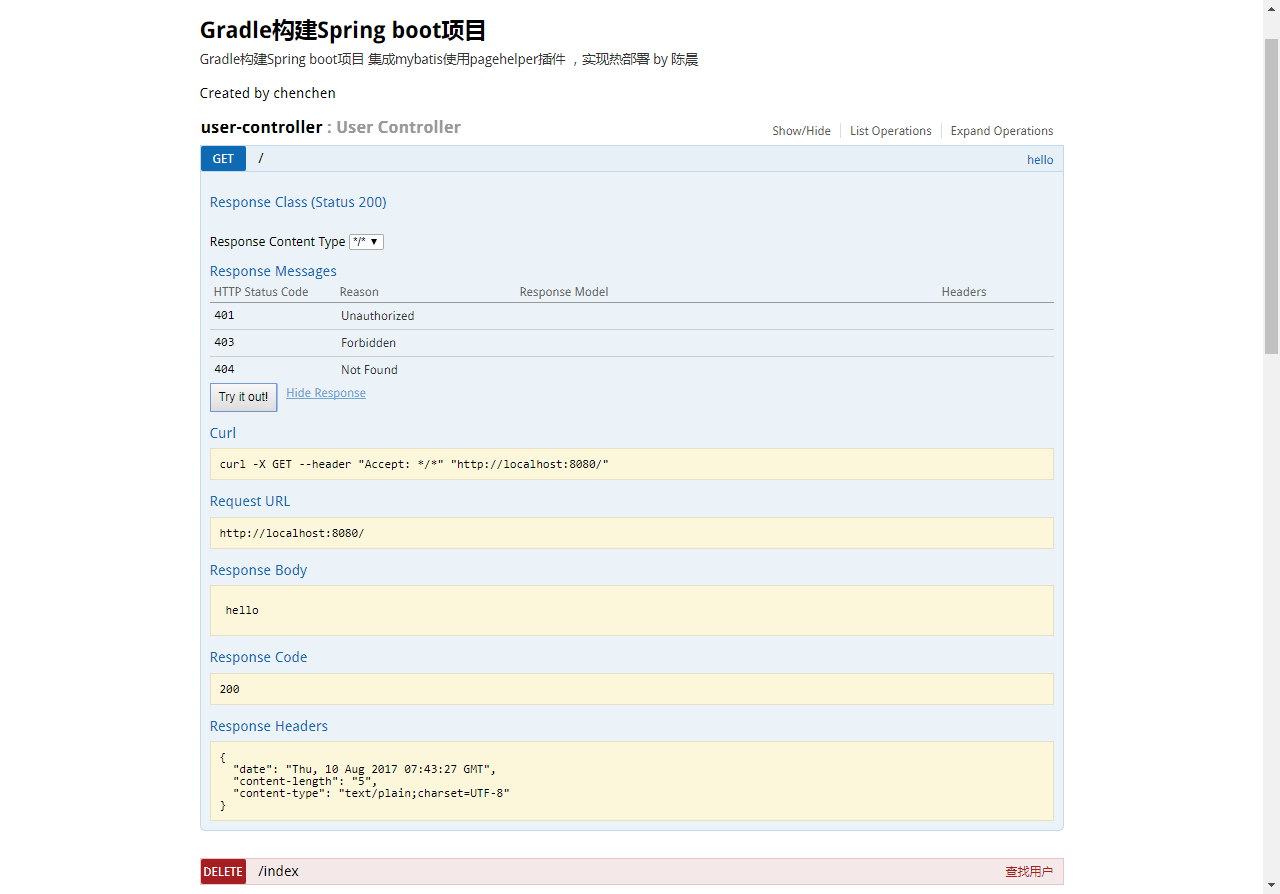
    @RequestMapping(value = "/", method=RequestMethod.GET)
    @ResponseBody
    public String hello() {
        return "hello";
    }

    @ApiOperation(value="查找用户", notes="根据age来查找")
    @ApiImplicitParam(name = "age", value = "用户age", required = true, dataType = "Integer")
    @RequestMapping("/index")
    public List<User> selectAge(@RequestParam("age") int age){

        return userService.showDao(age);
    }

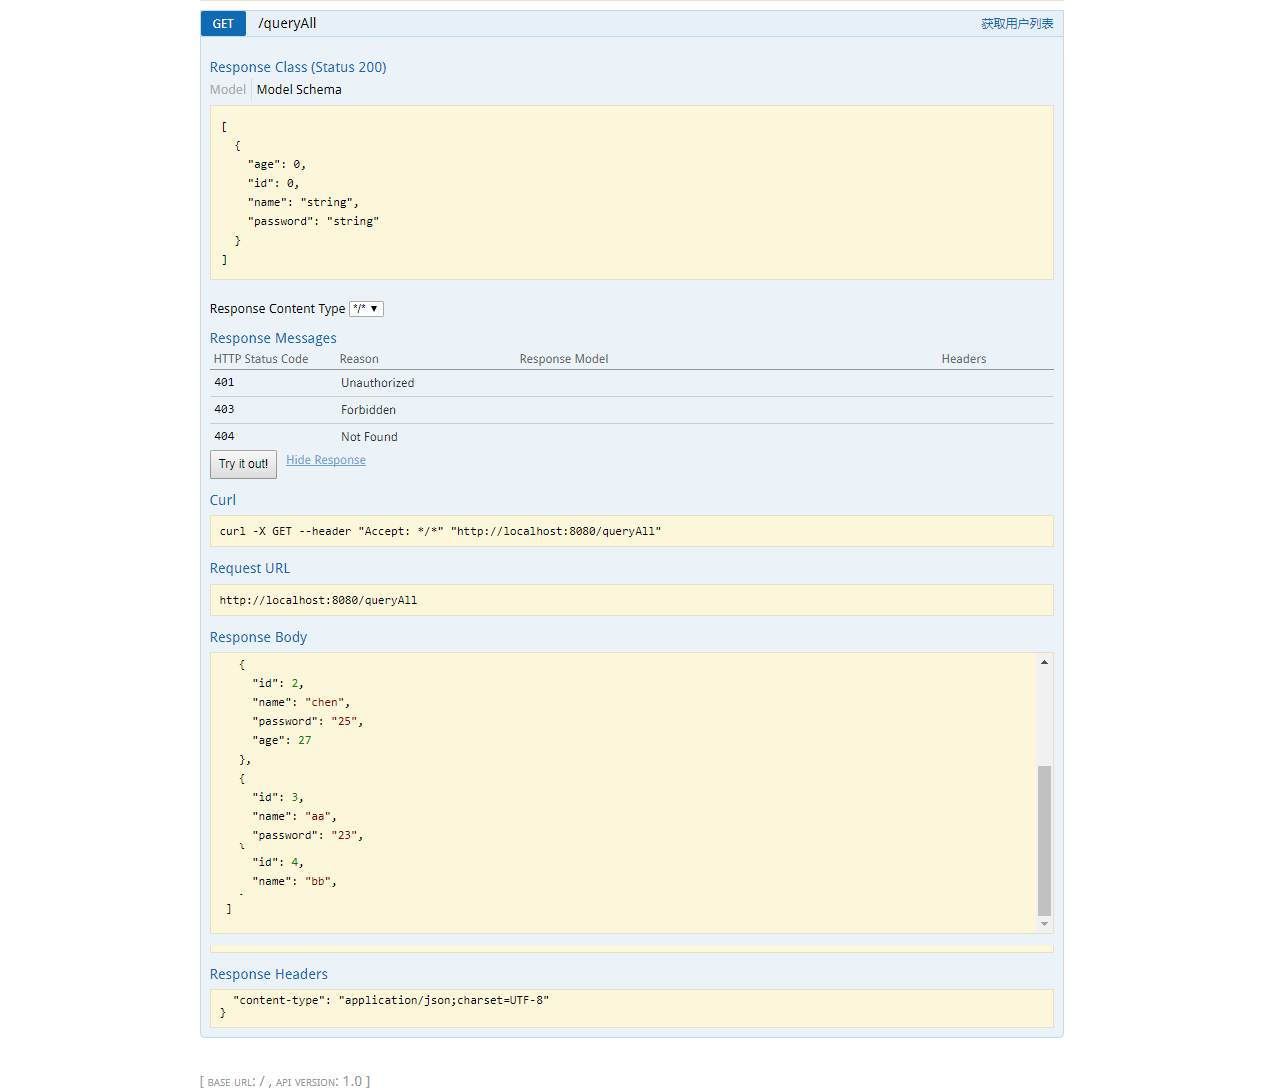
    @ApiOperation(value="获取用户列表", notes="")
    @RequestMapping(value = "/queryAll", method=RequestMethod.GET)
    @ResponseBody
    public List<User> queryAll() {
        return userService.findAll();
    }
}
访问
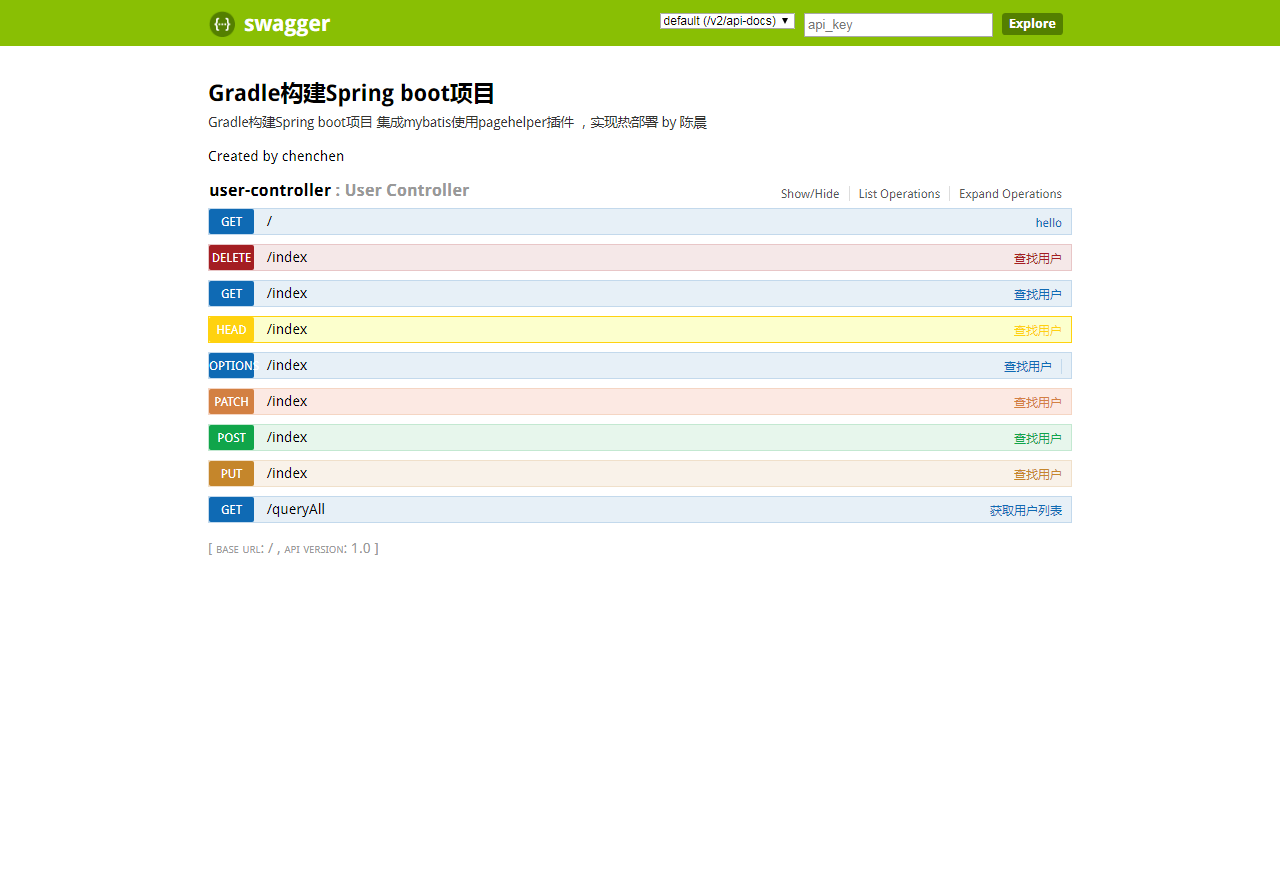
完成上述代码添加上,启动SpringBoot程序,访问:http://localhost:8080/swagger-ui.html


